Designing for 3D Printing: What To Know Before Your First Print

Additive News • August 25, 2019
3D printing has gone from niche to newsworthy in the past decade, and many businesses are wondering how they can tap into the limitless versatility of additive manufacturing. Yet even though 3D printing lets you break many of the rules set by traditional production processes, achieving the best results still takes proper design and planning.
At Additive Experts, we can guide you along the best path for your first print, and help you unlock the power additive manufacturing has to offer. Here are a few design rules to consider before you get started.

General Advice
- Design software is not perfect – just because you design it, doesn’t mean it can be printed
- Plan supports – 3D printers print one layer at a time, and some designs may require support structures to ensure a successful print
- Large, flat areas may be prone to warping depending on the material
- Avoid overhangs whenever possible
- Choose the right material for your design, and follow the material guidelines
- Choose the proper printing format (read more about 3D printing formats here)
- Know your file resolutions and component tolerances
- Mind wall thickness – this is the most common reason 3D prints fail

Industrial Designs
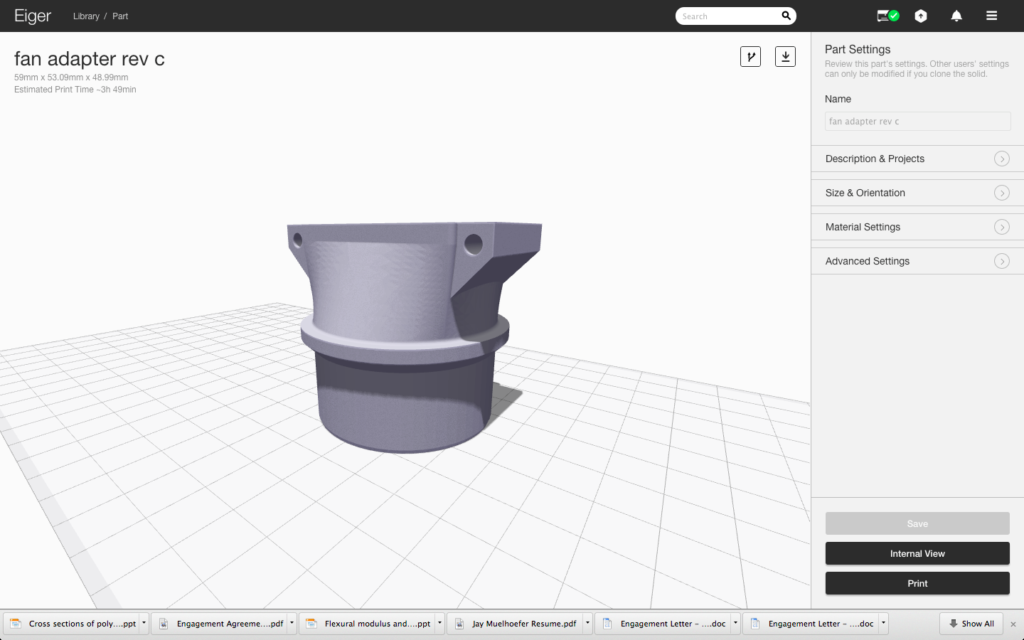
- A flat base provides good adhesion to the print bed.
- Use chamfers (slopes) of 45 degrees or less to connect overhangs to the base of the part to minimize the need for support structures as seen in the example above
- Use default infill settings.
Organic Shapes
- Use chamfers on the base of the part to print without the need for supports (45 degrees or less)
- Fillets work great on top of the part
Teardrop Shapes
- Flat bottom (for good bed adhesion)
- 70 degree chamfer for the overhang (45 degree would print fine, but stall the airflow in quad copter).
- Full round (fillet) for the top.
- The internal wire channel has a 45 degree chamfer on top to close the cavity without supports.
- Chamfer on the bottom of the wire channel to give wall thickness to the part, and increase strength.
A few notes on Infill.
- Eiger defaults to triangular type Fill Pattern due to the increased speed capabilities of triangular paths and the very little effect on part strength.
- To achieve 100% infill (solid plastic), it is recommended to use rectangular Fill Patterns.